Cleaning your toilet flush (tank + handle system) properly can make it look and work like new—and it’s easier than most people think 🚽✨
🧼 Step-by-Step: Clean Your Toilet Flush System
1. Turn off water supply
- Locate the valve behind the toilet and turn it off
- Flush once to empty most of the tank
2. Open the tank lid
- Carefully lift and place it somewhere safe
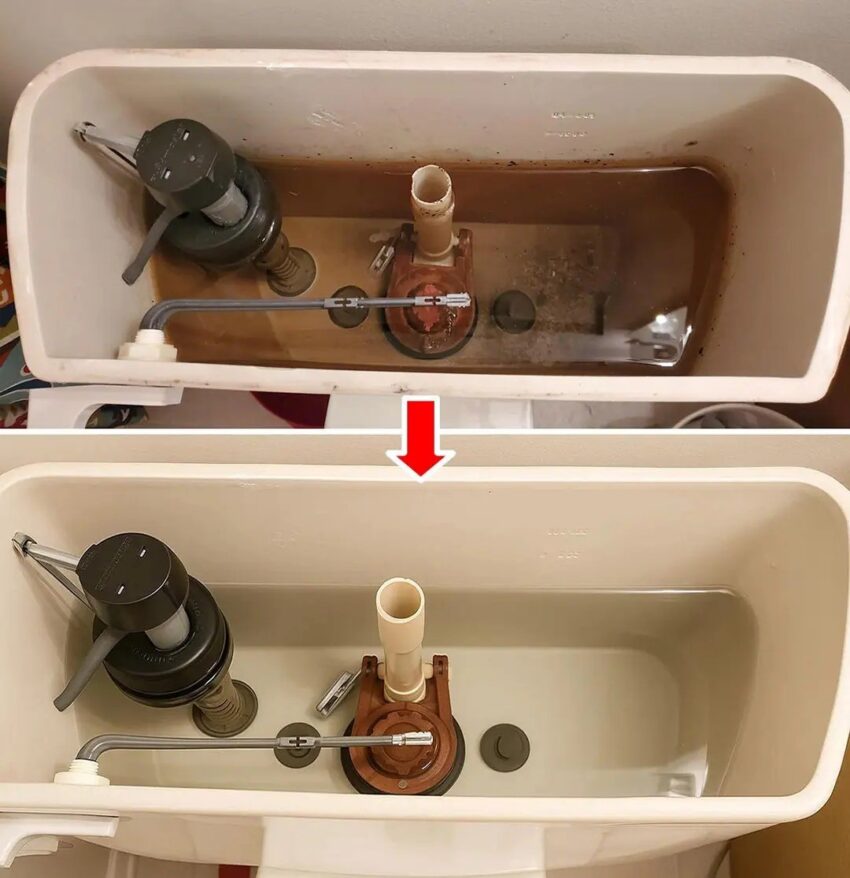
- You’ll see parts like the flapper, fill valve, and float
3. Clean inside the tank
🧴 Option A: Vinegar soak (best natural method)
- Pour 2–3 cups of white vinegar into the tank
- Let it sit for 30–60 minutes
👉 Helps dissolve:
- Mineral deposits
- Hard water stains
- Odors
4. Scrub gently
- Use a soft brush or old toothbrush
- Clean:
- Tank walls
- Flush valve
- Around the flapper
⚠️ Avoid metal brushes (can damage parts)
5. Clean the flush handle
- Remove the handle (if needed)
- Wash with soap + warm water
- For shine, wipe with vinegar or mild cleaner
6. Turn water back on
- Let the tank refill
- Flush 2–3 times to rinse everything
🌟 Make It Look Like New
✨ For extra freshness:
- Add a few drops of lemon or essential oil to the tank (optional)
- Wipe outside surfaces with disinfectant
⚠️ Important Tips
- Don’t use bleach inside the tank regularly → can damage rubber parts
- Avoid drop-in chemical tablets → they shorten lifespan of components
- Clean every 1–2 months for best results
💡 Bonus Fixes
If it still doesn’t feel “new”:
- Replace worn flapper (cheap and easy)
- Tighten or replace rusty handle
- Check for slow leaks
✅ Bottom line:
A simple vinegar clean + gentle scrubbing can restore both appearance and performance of your toilet flush system.
If you want, I can show you how to fix a weak flush or constantly running toilet step-by-step.
